

Autos

Pre-Purchase Inspection Checklist for Used Vehicles

Share
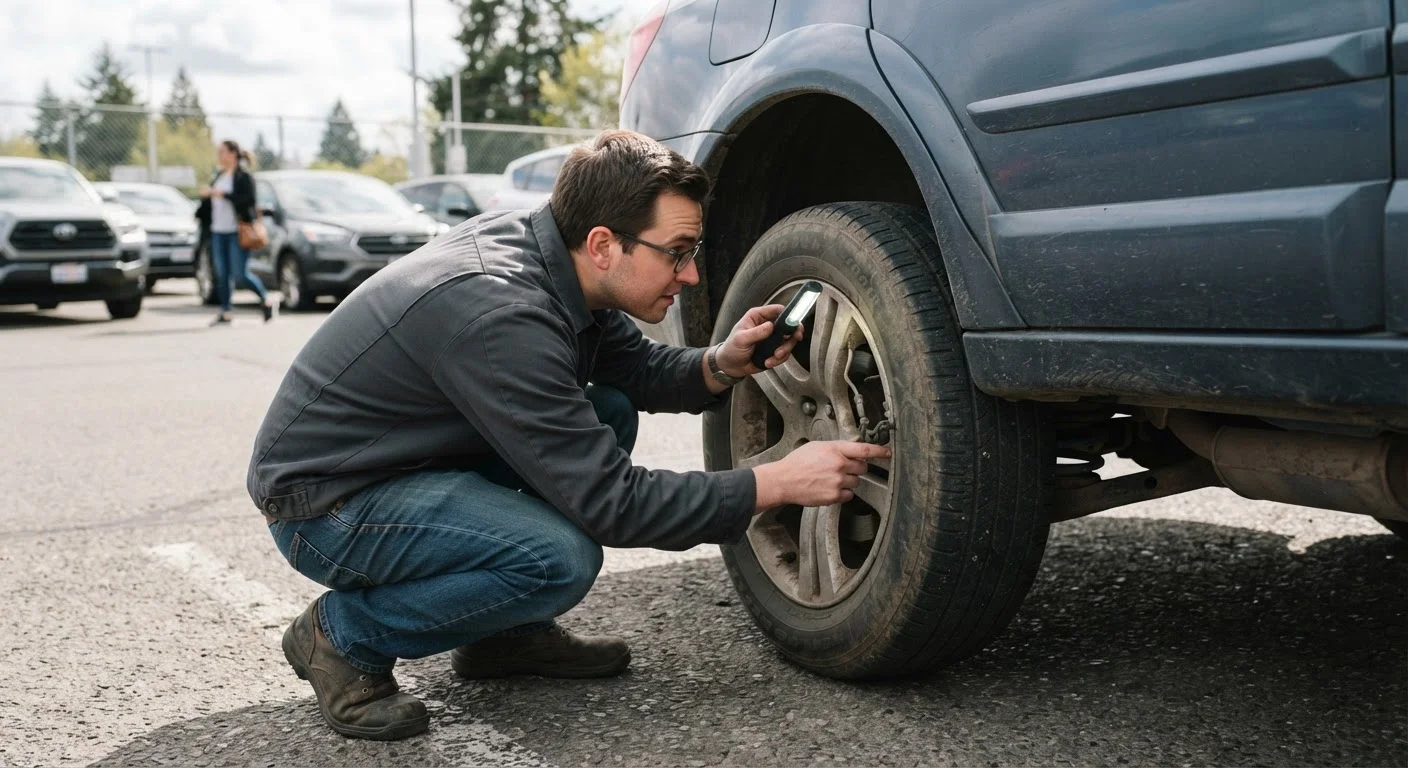
Person inspecting the wheel well and undercarriage of a used car in a parking lot.

Key Takeaways

A systematic walkaround before a test drive catches body and structural problems early.
Checking fluid levels and under-hood condition reveals clues about how well a car was maintained.
Tire wear patterns can indicate alignment, suspension, or braking issues.
An independent mechanic inspection is strongly recommended before any final purchase decision.
Documenting findings during your inspection strengthens your negotiating position.
45–90 min

Summary

24 items · 45–90 minutes

Why a Structured Inspection Saves Money and Stress

Buying a used vehicle without a systematic inspection is one of the most common — and costly — mistakes car shoppers make. Problems that seem minor on a quick visual scan can translate into hundreds or thousands of dollars in repairs once you've signed paperwork. A structured checklist keeps your walkthrough consistent, regardless of whether you're evaluating a three-year-old daily driver or a decade-old work truck.

This checklist is designed for the pre-purchase phase — the inspection you conduct before agreeing to any price or committing to a sale. It covers the items a careful, informed buyer can assess without specialized tools. It is not a substitute for a professional mechanical inspection by a licensed technician, which we strongly recommend as a final step. For context on why that third-party step matters, see why pre-purchase inspections matter more than most buyers realize.

If you're still weighing whether a used vehicle is right for you at all, understanding the differences between new, used, and CPO vehicles can help sharpen that decision first.

Exterior Body and Paint

Walk the entire perimeter and note any dents, creases, or panel gaps that suggest past collision damage. Must
Check paint color consistency across all panels — mismatched shades or overspray on rubber trim indicate prior bodywork. Must
Inspect door, hood, and trunk gaps for evenness; uneven gaps can point to frame or structural damage. Must
Look for rust bubbling along rocker panels, wheel arches, and the lower edges of doors. Must
Examine all glass for chips, cracks, or delamination that could require replacement. Should

Interior Condition

Check all seat adjustments, belts, and airbag warning lights — safety systems must function correctly. Must
Inspect carpet and headliner for water stains or musty odors, which can signal a leak or flood history. Must
Test every electrical function: windows, locks, mirrors, climate controls, and infotainment. Should
Verify that the odometer reading aligns with the vehicle's overall wear on pedals, steering wheel, and seats. Should

Under the Hood

Check engine oil on the dipstick — milky or frothy oil can indicate coolant contamination, a serious red flag. Must
Inspect coolant level and color in the reservoir; dark brown or rusty coolant suggests neglected maintenance. Must
Look for visible oil leaks around gaskets, valve covers, and the oil pan. Must
Check transmission fluid if accessible — dark, burnt-smelling fluid indicates potential transmission wear. Should
Inspect belts and hoses for cracking, fraying, or excessive softness. Should
Note any corrosion on battery terminals or signs of an aftermarket battery that doesn't match the vehicle's age. Nice to have

Tires, Wheels, and Brakes

Measure tread depth on all four tires and confirm they are a matching set with even wear across the tread face. Must
Look for feathering or cupping wear patterns, which can indicate alignment or suspension problems. Must
Peer through the wheel spokes to visually assess brake rotor thickness and look for deep scoring grooves. Must
Check that all wheels are the same type and size — mismatched wheels may signal prior damage or repairs. Should

Documentation and History

Request the vehicle identification number (VIN) and run a vehicle history report before the inspection appointment. Must
Ask for maintenance records — a documented service history is one of the strongest indicators of a well-kept vehicle. Must
Confirm the title is clean, in the seller's name, and free of liens before proceeding further. Must
Arrange a professional pre-purchase inspection at an independent shop as your final verification step. Must

Tools to Bring and How to Use This Checklist

You don't need a full shop kit to run this inspection effectively. A few basic items will let you see, hear, and document far more than a bare-eyed once-over. Work through the checklist in order — exterior first, then interior, then under the hood, then tires and wheels — so nothing gets skipped in the excitement of looking at a car you like.

Required

Flashlight or Headlamp

Illuminates dark areas under the hood, beneath the vehicle, and inside wheel wells where rust and leaks hide.

Required

Tread Depth Gauge

Measures remaining tire tread precisely so you can estimate replacement cost and assess uneven wear patterns.

Required

Notepad or Phone Camera

Documents findings, photographs problem areas, and records details to discuss with a mechanic later.

Optional

OBD-II Code Reader

Reads stored or pending diagnostic trouble codes from the vehicle's computer to surface hidden engine or emissions issues.

Optional

Magnet

Tests whether body panels are original metal or filled with body filler (Bondo) from prior collision repairs.

Take notes or photos as you go. Documented findings give you a factual basis for follow-up questions and, if appropriate, price discussions. For the questions to ask the seller before or during a test drive, see questions worth asking before a used car test drive.

Never Skip the Professional Inspection

This checklist covers what a careful non-specialist can observe, but it does not replace a full mechanical inspection by a licensed technician. A professional can put the vehicle on a lift, test components under load, and identify structural issues invisible to the naked eye. Budget for this inspection before you budget for the vehicle.

Inspect in Daylight and on Level Ground

Low light and sloped surfaces both mask problems that are clearly visible under proper conditions. Always inspect a vehicle during daylight hours on a flat, level surface. If a seller insists on meeting after dark or in a poorly lit area, treat that as a warning sign and reschedule.

This checklist fits into the broader vehicle buying process described in The Full Vehicle Buying Journey, Explained. If you're evaluating a classic or collector car rather than a modern used vehicle, the inspection priorities differ — see Pre-Purchase Inspection for a Classic Car for that specific guidance.

Autos Editorial Team is the collective byline for our editorial team and contributor network. Articles published under this byline or an editorial pen name are researched, written, and reviewed according to our editorial standards for clarity, consistency, and independence before publication.

View all articles by Autos Editorial Team →
Disclaimer: The content on this site is for informational purposes only and is not a substitute for professional advice. Always consult a qualified professional for guidance specific to your situation.