

Key Takeaways
Understanding Drywall Damage — and Why Repair Method Matters
Drywall — also called gypsum board or sheetrock — is a sandwich of compressed gypsum plaster between two paper faces. It's durable for everyday use but vulnerable to impacts, fastener movement, and moisture. The good news: most damage is fixable without replacing entire sheets, provided you match the repair approach to the scale of the problem.
If you're new to home repair generally, the First-Time Homeowner's Roadmap to DIY Projects is a useful starting point for understanding which tasks are realistic to tackle yourself and which benefit from a professional hand.
Check What's Behind the Wall First
Before cutting into drywall, use a stud finder with electrical detection or carefully probe the area to confirm there are no live wires or plumbing pipes in the cavity. Cutting through an electrical line is a serious safety hazard. If you have any doubt about what's inside the wall, stop and consult a licensed electrician or plumber before proceeding.
One factor often overlooked: wall texture. Smooth walls are the easiest to patch invisibly. Walls with orange-peel, knockdown, or popcorn texture require an extra step to replicate the existing pattern before painting — factor this into your time estimate.
Putty knife or 6-inch drywall knife
Used to apply and feather joint compound over small to medium repairs.
12-inch drywall finishing knife
Spreads compound over a wider area for larger patches, creating smooth, feathered edges.
Self-adhesive mesh patch (for small holes)
Provides a ready-made backing for holes up to about 4 inches without cutting new drywall.
Drywall saw or jab saw
Cuts clean edges around larger damaged sections to create a square opening for a new patch.
All-purpose joint compound
The primary fill material applied in multiple coats over any repair.
Drywall screws and screw gun
Secures new drywall patches and wood backing strips inside the wall cavity.
Sanding sponge or 120-grit sandpaper
Smooths dried compound between coats and before priming.
Drywall primer
Seals the porous compound surface so finish paint adheres evenly without flashing.
Step-by-Step Drywall Repair
Gather your tools and materials before starting. Having everything on hand prevents mid-repair trips that can cause compound to skin over or dry unevenly.
What you will need
Assess the damage and choose your method
Measure the hole at its widest point. Use this as your guide:
- Nail pops and hairline cracks (under ¼ inch): Spackling compound applied with a fingertip or small putty knife.
- Small holes (¼ inch to 4 inches): Self-adhesive mesh patch covered with joint compound.
- Medium holes (4 to 6 inches): California patch (a cut piece of drywall with paper backing intact) or mesh plus backing.
- Large holes (over 6 inches): New drywall section secured to wood or metal backing strips anchored inside the wall cavity.
Also check for moisture staining or soft edges around the hole, which can indicate an underlying leak. Repair the water source before patching the wall.
Prepare the damaged area
For nail pops, drive the existing nail deeper with a hammer and dimple the surface slightly, or replace it with a drywall screw set just below the surface. For small holes, clean away any loose paper or crumbled gypsum around the edges with a utility knife. For large holes, use a drywall saw to cut the damage into a clean rectangle — straight lines are much easier to patch than irregular tears.
Install backing (large holes only)
For holes larger than 6 inches, cut two pieces of 1×3 or 1×4 lumber slightly longer than the hole's height. Slide each piece behind the drywall on either side of the opening and drive drywall screws through the existing wall surface into the wood to hold them in place. These act as nailers for your patch piece. Alternatively, metal clip-style backing systems are available at hardware stores and can simplify this step.
Apply the patch
For mesh patches: Peel and stick the self-adhesive mesh panel centered over the hole. For large holes: Cut a new piece of drywall to fit the opening precisely. Set it in place and drive drywall screws into the backing strips every 6–8 inches, keeping screw heads slightly dimpled below the surface without tearing the paper face.
Apply joint compound in multiple coats
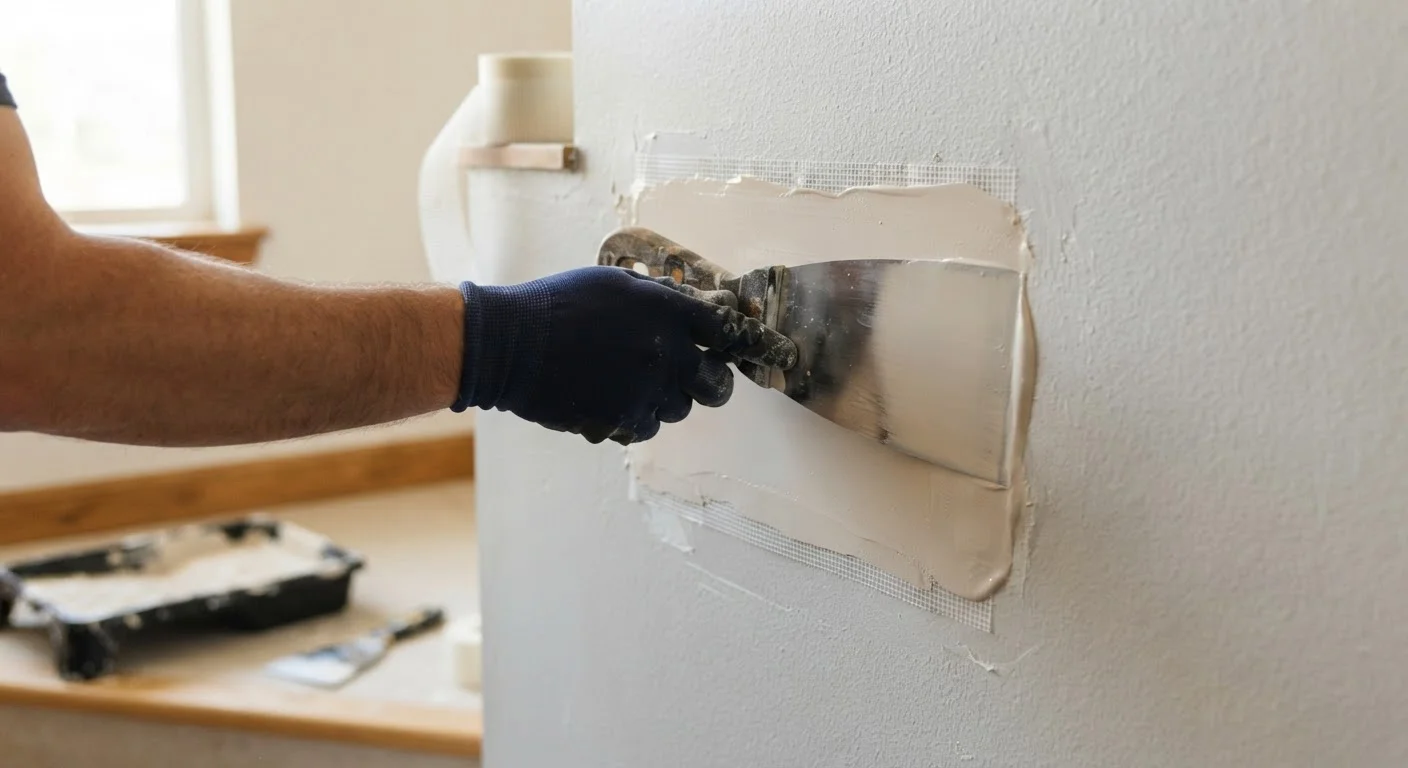
Mix your all-purpose joint compound to a smooth, peanut-butter-like consistency. Apply the first coat with a 6-inch knife, pressing compound firmly into the mesh or seams and skimming it flat. Let it dry fully (typically 24 hours). Sand lightly with a 120-grit sponge, wipe away dust, then apply a second wider coat with a 10- or 12-inch knife, feathering the edges 4–6 inches beyond the patch. A third thin skim coat is often needed for large repairs. Each coat should be thinner than the last.
Sand, prime, and paint
Once the final coat is completely dry, sand the entire repaired area smooth using a drywall sanding sponge. Work in circular motions, then finish with light straight passes. Wipe away all dust with a damp cloth and allow to dry. Apply one coat of drywall primer, let it cure per label directions, then paint to match your wall. If your wall has texture (orange peel, knockdown), replicate it before priming using a texture spray or sponge technique.
Don't Skip the Drying Time
Applying a second coat of joint compound before the first is fully dry is one of the most common DIY mistakes. Wet compound trapped beneath dried surface layers will crack as it cures. Always wait until the compound turns uniformly white and feels completely dry to the touch — typically 24 hours per coat in normal indoor conditions.
Once the repair is complete and painted, keep an eye out for any recurring cracks or bulging along the seams — these can signal movement in the structure or ongoing moisture intrusion. If you notice persistent moisture problems around baseboards or window frames, the guide on caulking failures can help you identify and address related sealing issues before they reach the drywall again.
Prime Before You Paint
Joint compound is porous and will absorb paint unevenly, leaving a dull spot called 'flashing' even after the surface looks smooth. Always apply a coat of drywall primer — or a PVA primer — over the repaired area before your finish paint. This one step is what makes the patch truly disappear.