

Key Takeaways
Saves money between professional appointments
Even one skipped appointment per season can add up to meaningful savings over a year, particularly for those paying for color or specialty cuts. This is maintenance spending, not a replacement cost.
Removes split ends before they travel up the shaft
Split ends that go untreated can split further up the hair strand, increasing the amount a stylist needs to remove at your next visit. A conservative dusting can interrupt that cycle.
Convenient for minor shape maintenance
A blunt trim on straight, one-length hair is low-risk and can keep the style looking intentional between appointments rather than grown-out.
Builds familiarity with your own hair
Regularly handling your hair in sections helps you notice changes in texture, density, or breakage patterns earlier — information that's useful to share with your stylist.
Wrong scissors cause more damage than they fix
Non-sharpened or general-purpose scissors fold the cuticle instead of slicing through it, creating fraying at the new cut line. This is the single most common DIY trimming mistake.
Difficult to achieve even results without a second set of eyes
Trimming the back of your own hair requires mirrors, consistent grip tension, and spatial awareness that's hard to maintain simultaneously. Asymmetry is a frequent outcome.
Risk of taking off more length than intended
Without professional training, it's easy to overshoot — especially on wavy or curly hair, which appears longer when stretched than it sits when dry.
No substitute for a structural cut or style refresh
A DIY trim can remove ends but cannot reshape a haircut, add or blend layers, or correct an old cut that has grown out awkwardly. Those outcomes require a professional.
Our Verdict
DIY trims are a practical, budget-friendly option when kept simple — removing split ends and refreshing length works well at home with the right tools and a conservative approach. The moment a cut involves layers, angles, or texture, the risk of a lopsided or damaged result rises sharply. Think of at-home trimming as maintenance, not transformation.
Anyone with one-length or minimally layered hair who wants to extend time between salon appointments without dramatically altering their cut.
Why People Reach for the Scissors at Home
Between salon visits, hair keeps growing — and so do split ends. For many people, a full appointment every six to eight weeks isn't realistic, whether the barrier is cost, schedule, or proximity to a trusted stylist. That gap is exactly where the idea of a quick at-home trim becomes appealing.
The good news is that certain DIY techniques are genuinely effective. The not-so-great news: others are almost guaranteed to backfire, leaving you with uneven length, unexpected layers, or damage that takes months to grow out. Understanding which category your goal falls into is the first step. If you're still figuring out your hair's basic needs, our guide on building a hair care routine from scratch is a useful starting point.
Saves money between professional appointments
Even one skipped appointment per season can add up to meaningful savings over a year, particularly for those paying for color or specialty cuts. This is maintenance spending, not a replacement cost.
Removes split ends before they travel up the shaft
Split ends that go untreated can split further up the hair strand, increasing the amount a stylist needs to remove at your next visit. A conservative dusting can interrupt that cycle.
Convenient for minor shape maintenance
A blunt trim on straight, one-length hair is low-risk and can keep the style looking intentional between appointments rather than grown-out.
Builds familiarity with your own hair
Regularly handling your hair in sections helps you notice changes in texture, density, or breakage patterns earlier — information that's useful to share with your stylist.
Techniques That Actually Work at Home
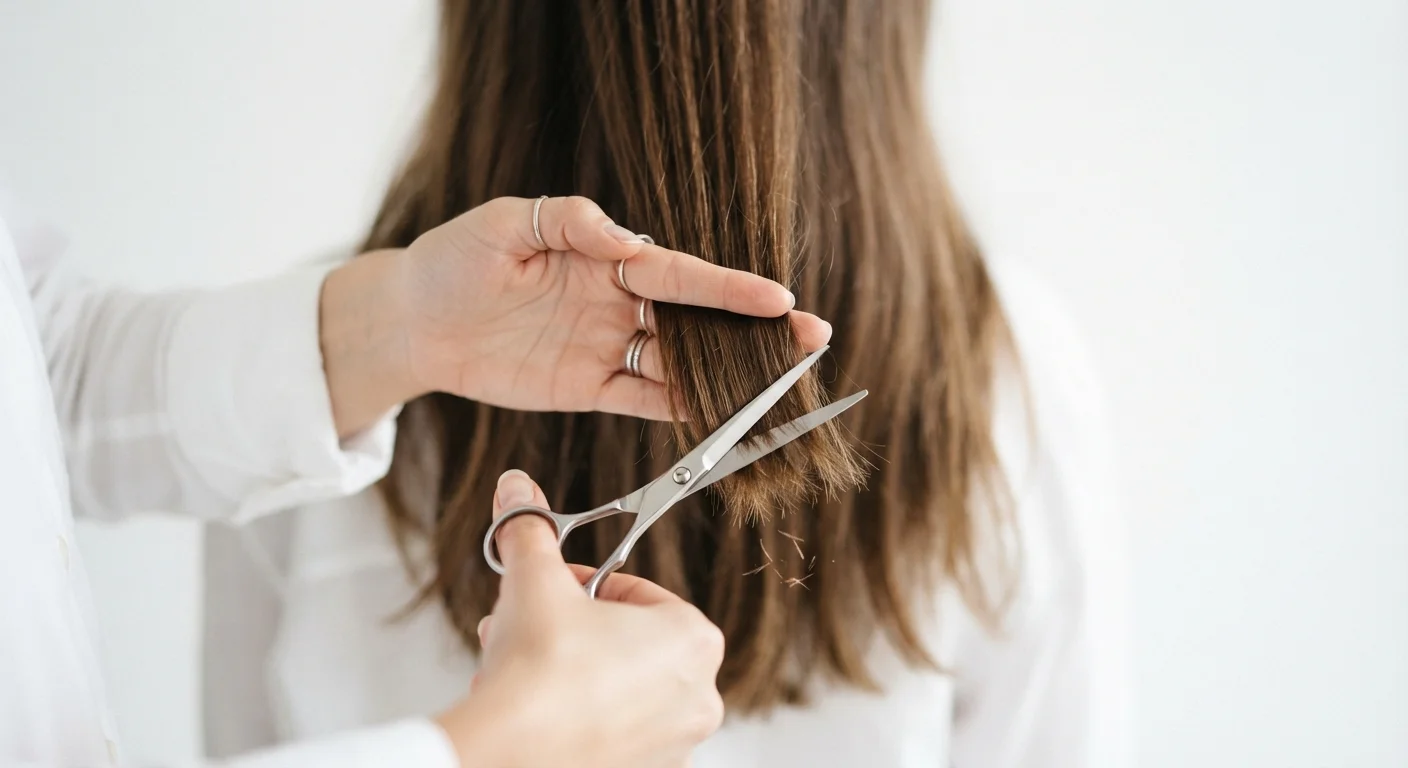
Dusting: This is the gold-standard DIY move — trimming only the very tips (about ⅛ to ¼ inch) to remove visibly frayed or split ends without meaningfully reducing length. Work on dry, detangled hair in good lighting, and take your time moving through small sections.
Straight-across blunt trims: For one-length hair, a blunt trim across the bottom is manageable with a helper or a mirror. Divide hair into sections, comb each section smooth, hold it between two fingers, and cut straight across. The key is consistent tension — any slack in the grip creates an uneven line.
Beard and neck-line cleanup: For those maintaining shorter styles, trimming the neckline with a trimmer (not scissors) is straightforward and low-risk. See the monthly grooming checklist for a structured approach to these quick touch-ups.
6–8 wks
Typical recommended time between professional trims
Many stylists suggest this window as a general guideline, though the right interval varies based on hair type, growth rate, and style.
~¼ inch
Maximum removal for a safe at-home dusting
Limiting cuts to this amount minimizes the risk of accidentally removing healthy hair while still addressing visible split ends.
Where DIY Trims Go Wrong
The most common mistake is using kitchen or craft scissors. Their blades push and fold the hair shaft rather than cutting cleanly, which actually creates new split ends at the cut site. Dedicated hair-cutting shears — kept sharp and used only on hair — are non-negotiable.
Cutting wet hair is another frequent misstep for those aiming to maintain a specific dry length. Hair stretches when wet and can contract significantly once dry, meaning what looked like a small trim ends up being much more. Unless you're working with very coily or tightly curled hair (where wet cutting is a common professional technique), dry trimming gives you a more accurate result.
Wrong scissors cause more damage than they fix
Non-sharpened or general-purpose scissors fold the cuticle instead of slicing through it, creating fraying at the new cut line. This is the single most common DIY trimming mistake.
Difficult to achieve even results without a second set of eyes
Trimming the back of your own hair requires mirrors, consistent grip tension, and spatial awareness that's hard to maintain simultaneously. Asymmetry is a frequent outcome.
Risk of taking off more length than intended
Without professional training, it's easy to overshoot — especially on wavy or curly hair, which appears longer when stretched than it sits when dry.
No substitute for a structural cut or style refresh
A DIY trim can remove ends but cannot reshape a haircut, add or blend layers, or correct an old cut that has grown out awkwardly. Those outcomes require a professional.
Pair your trimming routine with solid conditioning habits. Split ends are slowed — though not stopped — by adequate moisture. Our piece on deep conditioning at home covers how to get the most out of every treatment between visits.
Cuts That Belong in a Salon Chair
Layers, face-framing cuts, curtain bangs, and any style involving intentional texture or graduation require training, the right angles, and — critically — the ability to see the back and sides simultaneously. DIY attempts at these cuts are the source of most horror-story trim outcomes.
Curly and coily hair adds another layer of complexity. Curl patterns vary throughout the same head of hair, and a cut that looks even when stretched can spring up dramatically uneven once dry. A stylist who specializes in your curl pattern will account for shrinkage in ways that are very difficult to replicate at home. If you're protecting your ends rather than cutting them, explore whether protective styles might reduce your need for frequent trims altogether.
A Note on Heat Styling and Trim Frequency
Frequent use of flat irons and blow dryers accelerates split-end formation, which can shorten the time between necessary trims. Reducing heat exposure — or using a thermal protectant consistently — may reduce how often you need to reach for the scissors at all. For practical guidance, see our framework on heat styling without long-term damage.